previous picture
|
return to gallery
|
next picture
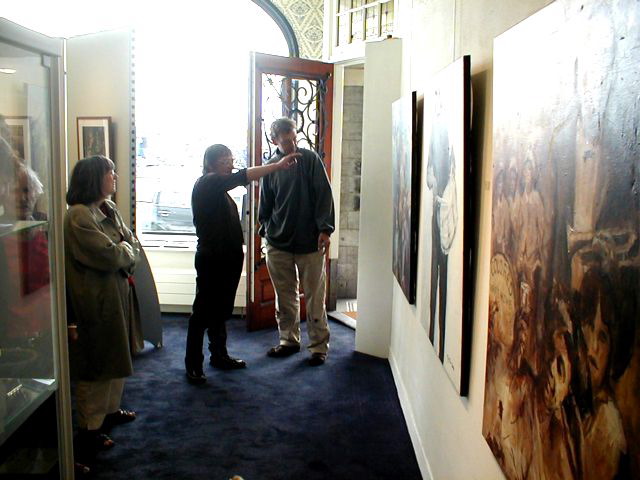
Explaining (2)
previous picture
|
return to gallery
|
next picture